
The Ultimate Guide to Making a Perfect Black Forest Cake (Step-by-Step)
Black Forest cake making is more than just a dessert—it’s a celebration of textures and flavors. Originating from Germany, this iconic cake blends soft chocolate sponge, airy whipped cream, and tangy cherries into a harmonious masterpiece. I am aiming to create a bakery-quality cake at home, understanding each stage of preparation is essential. This guide walks you through the entire process with precision, just like an expert baker would approach it.
Stage 1: Preparing the Ingredients for black forest cake making
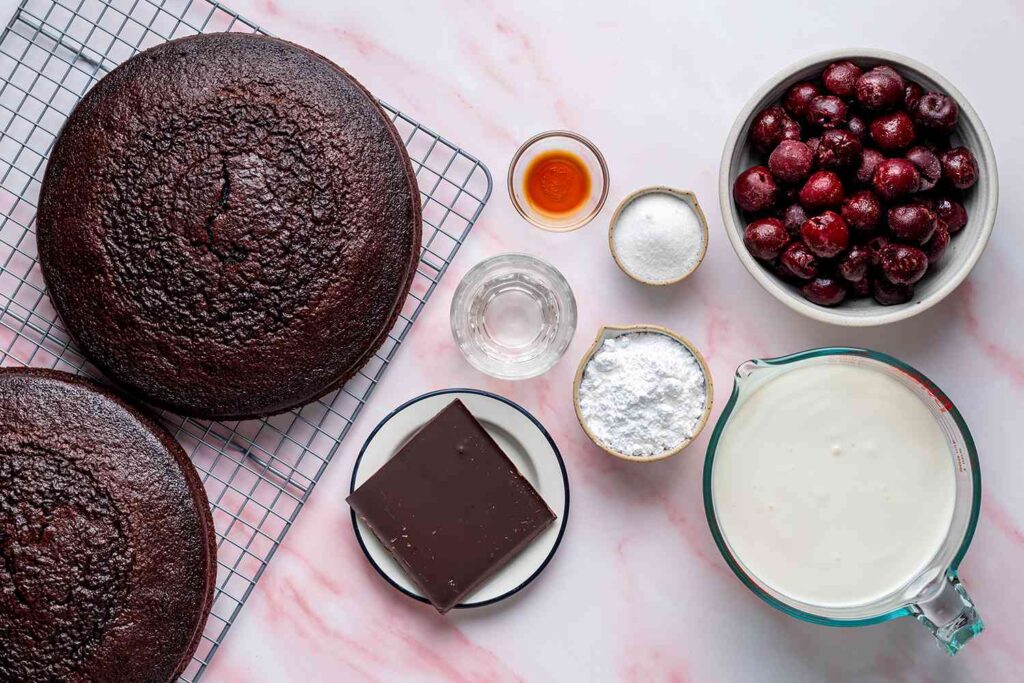
The foundation of the making black forest cake is the chocolate sponge, which must be soft, moist, and well-aerated. To achieve this, begin by carefully measuring your ingredients: about 120 grams of all-purpose flour, 30 grams of unsweetened cocoa powder, one teaspoon of baking powder, half a teaspoon of baking soda, and a pinch of salt. These dry ingredients should always be sifted together to remove lumps and incorporate air. In a separate bowl, beat four room-temperature eggs with 150 grams of sugar until the mixture becomes pale and fluffy; this step is critical because it creates the structure of the sponge.
Once the eggs are properly aerated, gently mix in 120 milliliters of milk, 80 milliliters of vegetable oil, and a teaspoon of vanilla extract. The dry ingredients are then folded in gradually to avoid deflating the batter. Finally, 120 milliliters of hot water or coffee is added, which may make the batter seem thin but is essential for a moist final texture and deeper chocolate flavor.
Stage 2: Making the Chocolate Sponge for perfect black forest cake
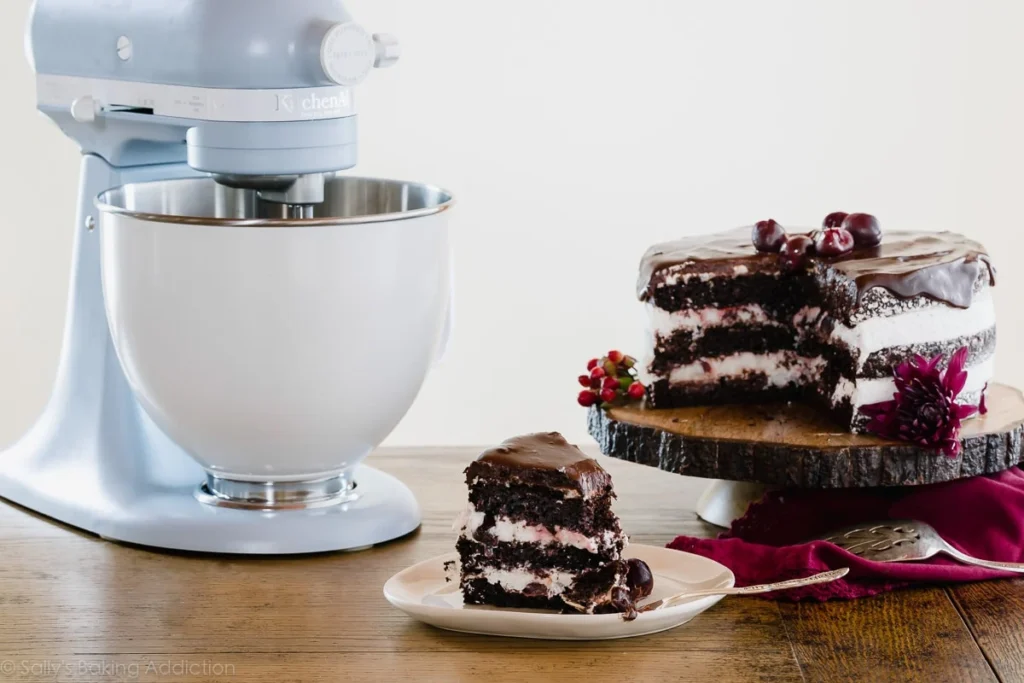
The batter is poured into prepared cake tins and baked at 180°C for around 25 to 30 minutes. It is important not to overbake, as that can dry out the sponge. Once baked, the cakes should be cooled completely before handling. A professional baker always allows sufficient cooling time, as cutting into a warm cake can ruin its structure and cause crumbling.
While the sponge cools, the cherry filling is prepared. Traditionally, around 300 grams of pitted cherries are cooked with 60 grams of sugar and a small amount of water over medium heat until they soften and release their juices. A slurry made from one tablespoon of cornflour mixed with water is added to thicken the mixture into a glossy, jam-like consistency. A teaspoon of lemon juice enhances the tartness, and for those following a traditional approach, a couple of tablespoons of kirsch can be added for depth. The filling must be cooled completely before it is layered into the cake to prevent melting the cream later.
Stage 3: Preparing the Cherry Filling
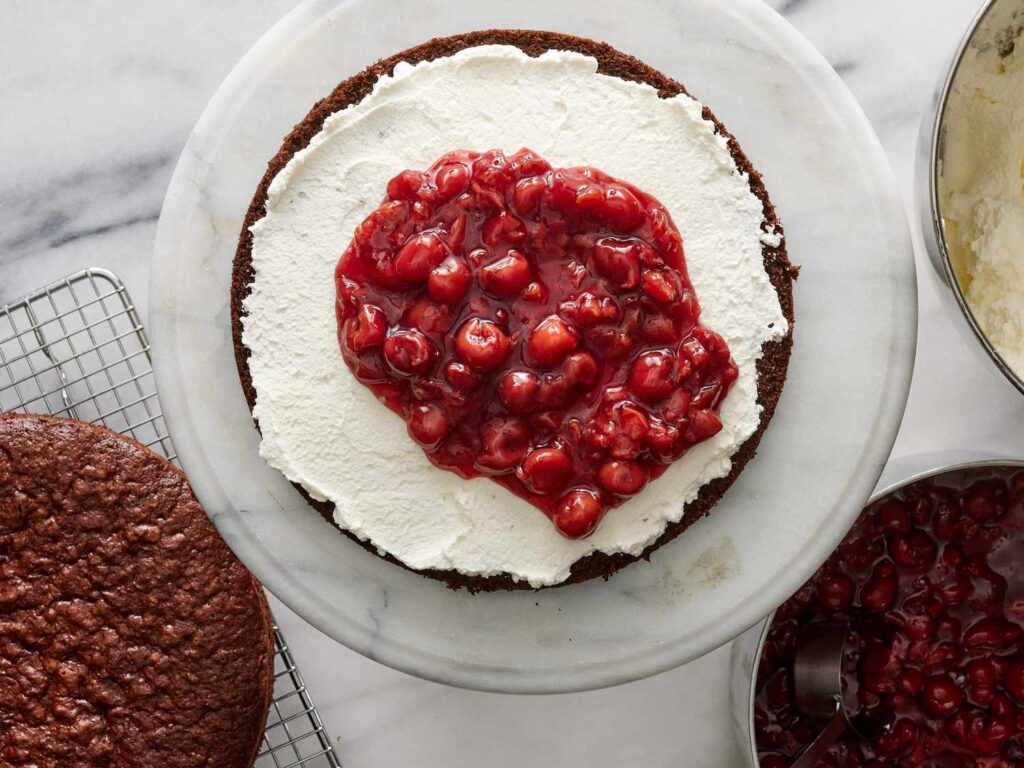
The cherry filling adds a refreshing contrast to the richness of chocolate and cream. In a saucepan, combine cherries, sugar, and a little water. Let them simmer until the cherries soften and release their juices.
To thicken the mixture, add a cornflour slurry and stir continuously until it reaches a jam-like consistency. A splash of lemon juice enhances the flavor, making it slightly tangy rather than overly sweet. Once done, let the filling cool completely. Using warm filling can melt the cream later, which can ruin the structure of the cake.
Stage 4: Whipping the Cream
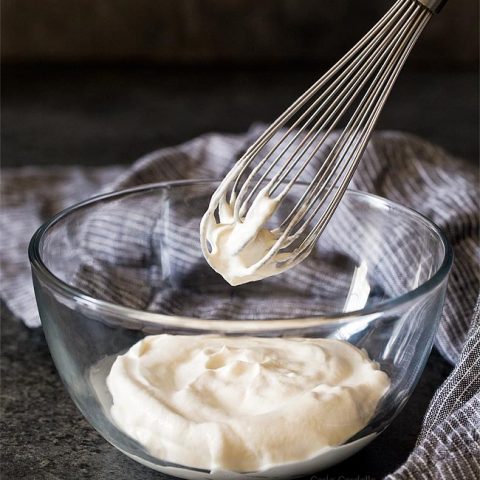
Whipped cream is what gives Black Forest cake its signature lightness. Start with cold heavy cream and chilled equipment. Pour the cream into a bowl and begin whipping at medium speed .This whipping cream plays a crucial role in black forest cake making.
As the cream thickens, add powdered sugar and vanilla extract. Continue whipping until you reach soft to medium peaks. The texture should be smooth and stable, yet soft enough to spread easily. Overwhipping can turn the cream grainy, so it’s important to stop at the right moment.
Stage 5: Assembling the black forest cake and making
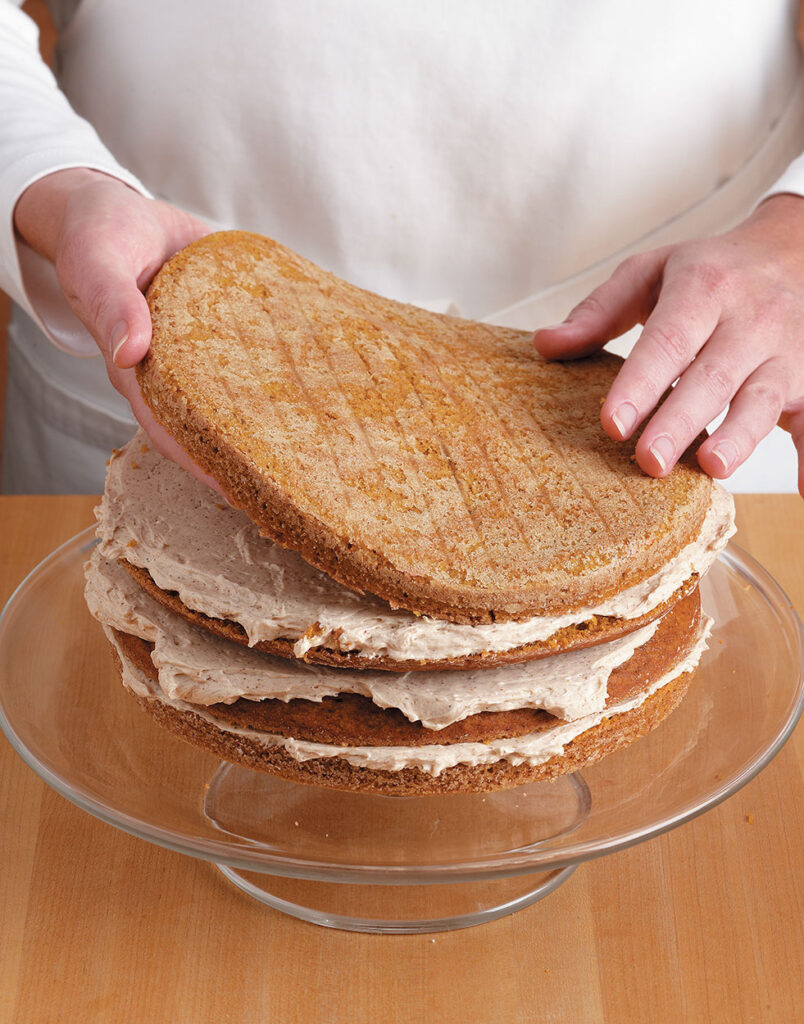
Assembling the cake is where technique truly shows. The sponge is typically divided into three even layers using a serrated knife. Each layer can be lightly brushed with a simple sugar syrup, sometimes infused with kirsch, to maintain moisture. The first layer is placed on a base, followed by a generous spread of whipped cream and an even distribution of cherry filling.
This process is repeated for the second layer. The top layer is placed carefully, ensuring alignment for a neat finish. A thin crumb coat of whipped cream is applied first, sealing in loose crumbs, and the cake is chilled briefly to stabilize it. After this, a final smooth layer of cream is spread over the entire cake.
Stage 6: Decoration and Finishing Touches
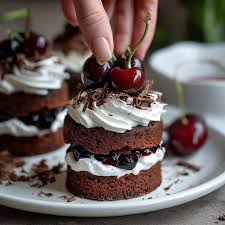
Decoration is an essential part of the Black Forest cake making identity. Dark chocolate is shaved into curls or flakes using a peeler and gently pressed onto the sides of the cake. The top is typically decorated with piped rosettes of whipped cream, each topped with a whole cherry. The visual contrast of white cream, dark chocolate, and bright cherries is what makes the cake instantly recognizable.
Final Step: Resting and Serving
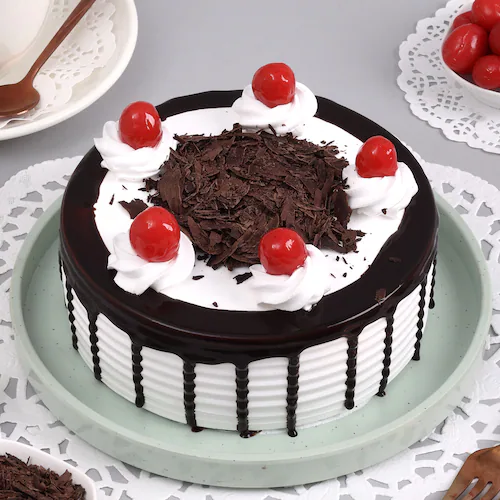
Once the cake is fully assembled, refrigerate it for at least 4–6 hours, or ideally overnight. This resting period allows the flavors to blend and the structure to set properly. When sliced, the layers should hold their shape while remaining soft and moist .finally a well prepared black forest cake making at home is ready.
Serving a well-made Black Forest cake is a rewarding experience. Each bite should deliver a balance of chocolate richness, creamy lightness, and fruity freshness.
Conclusion
Creating a perfect Black Forest cake at home is an art that combines precision with creativity. From preparing the sponge to layering and decorating, every step plays a crucial role in achieving the final result. With attention to detail and a bit of patience, you can recreate this classic dessert in a way that rivals professional bakeries.
Whether you’re baking for a celebration or simply to explore your skills, this cake is a timeless choice that never fails to impress.